In the ever-evolving world of digital transformation, learning how to use tech tools g15tooltech effectively can give businesses & individuals a significant edge. Whether you are a technician, a small business owner, or someone simply interested in smart digital solutions, understanding how to use tech tools g15tooltech the right way will not only save time but also enhance productivity.
Tech tools like g15tooltech are designed to provide diagnostics, testing, & real-time automation support. The problem is that many people either do not use these tools correctly or they underutilize their potential.
In this guide, we will walk you through step-by-step how to use tech tools g15tooltech, discuss its core features, benefits, & also answer some of the most commonly asked questions.
What Makes G15ToolTech Unique Among Diagnostic Tech Tools?
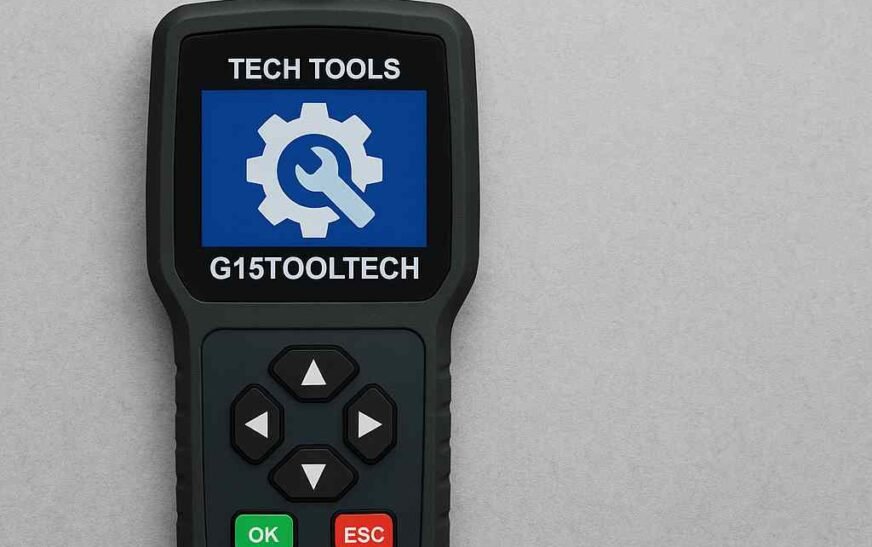
Before diving into how to use tech tools g15tooltech, it is important to understand what separates this platform from others in the market. G15ToolTech is a compact, multi-functional diagnostics & calibration tool used mainly in technical service industries. It supports vehicle diagnostics, firmware upgrades, system error checks, & more.
Many professionals choose g15tooltech because of its accuracy & easy integration with other smart tools. It is also compatible with major hardware systems & offers cloud-based data reporting. An essential feature for modern-day field service experts.
Step-by-Step Guide: How to Use Tech Tools G15ToolTech
If you are a beginner or someone just starting out, here is a practical guide for you:
- Start with Setup & Registration
- Unbox the g15tooltech device & connect it to your system using the provided cables.
- Visit the official application dashboard & register using your service ID or technician credentials.
- Update firmware through the setup wizard for optimized performance.
- Understand the Interface
- The main dashboard gives you access to tools such as system scan, real-time sensor tracking, & historical logs.
- Navigate through the toolbar to identify components such as calibration settings, error detection, & real-time notifications.
- Perform Diagnostics
- Use the “Start Scan” option to begin the system diagnostics.
- Within minutes, the tool will display a report that includes potential issues, recommended actions, & health scores.
- Export this data in PDF or CSV format for record keeping.
- Real-Time Calibration
- From the control panel, choose the calibration tab.
- Follow on-screen prompts to recalibrate any mechanical components or sensors.
- Save your calibration presets for future testing cycles.
- Cloud Backup & Reporting
- Enable auto-backup to the cloud using your enterprise or individual login credentials.
- Customize reports based on categories such as time, date, & component sensitivity.
Benefits of Using G15ToolTech
Understanding how to use tech tools g15tooltech means you unlock a range of benefits:
- Improved diagnostic accuracy
- Reduced time spent in error identification
- Cloud-based storage of historical test data
- User-friendly dashboard for all experience levels
- Compatibility with various operating systems
One unique use case shared by a field technician on the Pixwox platform highlighted how g15tooltech reduced their job turnaround time by 35 percent in just one month.
Why Is G15ToolTech Essential for Small Businesses?
Many small enterprises now rely on smart diagnostics for hardware management, especially those in repair services or automation. By learning how to use tech tools g15tooltech, small business owners can:
- Avoid expensive hardware failures
- Monitor system health in real-time
- Keep a log of historical problems for trend analysis
- Improve service speed & customer satisfaction
Additionally, Pixwox AI has started to analyze tool performance across different sectors. According to their recent analytical model, businesses using smart diagnostic tools like g15tooltech experience at least 40 percent fewer downtimes than those relying on manual checks.
Scripts to Streamline G15ToolTech Usage
Here are a few script examples for frequent users:
Startup Script Example:
bash
CopyEdit
#!/bin/bash
echo “Initializing G15ToolTech…”
g15tooltech –start-scan
echo “Scan Complete. Report saved.”
Calibration Script:
bash
CopyEdit
#!/bin/bash
echo “Running Calibration Mode…”
g15tooltech –calibrate –level=advanced
echo “Calibration Successful.”
These scripts can be configured to auto-run upon startup or scheduled weekly for preventive checks.
What Questions Do People Ask About G15ToolTech?
How long does it take to complete a scan using G15ToolTech?
Typically, a full system scan takes about 5 to 10 minutes, depending on hardware complexity.
Can G15ToolTech be used on more than one device?
Yes, the tool can be registered across multiple systems, but only one device can run an active session at a time.
Is there any training required to use this tool?
While the interface is intuitive, a short onboarding session is recommended, especially for first-time users.
Does it support cloud integration with third-party apps?
Yes, g15tooltech supports data exports to Dropbox, Google Drive, & custom REST APIs.
Final Thoughts: Why You Should Learn How to Use Tech Tools G15ToolTech Today
The bottom line is simple, if you are serious about diagnostics, efficiency, & automation, you need to learn how to use tech tools g15tooltech. This tool provides unparalleled accuracy & convenience for technicians, business owners, & hardware professionals alike.
Whether you are performing standard system checks or in-depth calibrations, g15tooltech is your go-to solution. & if you explore tutorials shared on platforms like thepixwox, you will find community-driven hacks & best practices to take your tool usage to the next level.
Remember, knowledge is power, and with pixwox ai offering regular analysis & reviews, you can stay ahead of the curve by integrating tools like G15ToolTech into your workflow.